| ||||||||||||||
|
Saturday, March 31, 2018
Thursday, March 29, 2018
I've decided to try a new feature on my blog this year in the form of a round-up. Every three months I'll look back and share some of my favorites looks from those months. This way I will be able to really see how I've progressed as a nail artist and also see if I tend to lean more towards one technique or do a good job of mixing them up. I haven't decided yet if I'll just do nail art looks or incorporate swatches also. I'm kind of doing this on the fly and hoping for the best. So, what are my Favorite looks from January, February, and March? Let's take a look.
January started off with some nail art featuring the Orly Darlings of Defiance Collection. While I created two looks for that post one really stuck out in my mind. The gradient I created using Penny Leather and Champagne Shushe.
There was just something about this color combination that I really liked. This combination was also a bit out of my comfort zone and I'm proud of the fact that I'm starting to branch out a bit. Even if it is just a small amount. More photos of this look can be found in my Nail Art with Orly Darlings of Defiance post.
January also saw the start of the Untried A-Z Challenge, another new series for my blog this year that I hope you are all enjoying. I've mixed things up a bit with this challenge and have done some swatches, shown two polishes and shared a bit of nail art. My next favorite look is from the second week of the challenge, Letter B week.
This is some of the cleanest, crispest stamping I have ever done and that is the reason I've chosen this as one of my favorites. Not to mention I have a little obsession with geometric nail art right now. I've gotten away from sharing nail art in the latest posts of the Untried A-Z challenge but will be getting back into it as the challenge progresses. Speaking of the Challenge, next week starts letter G week and I'd love to see more people participate. This is a come and go kind of challenge where you can do as many or as few prompts as you like so feel free to join in. Even if you didn't mention the challenge in your post but used a polish with a G in the brand name or polish name add it to the link up! Help me get the word out and let's get through those untried polishes together.
February was a short month but I was still able to squeeze in a few different looks and some new techniques. I started out with a technique I'm very comfortable doing and ended with one I've been trying to master for years. This first look was my Groundhog Day prediction manicure which sadly turned out to be wrong and winter is still hanging on.
I am full on head over heels in love with this look. I love the bold vampy base color, I love that it's got flowers, the contrast between the gold and berry wine is gorgeous and I want to wear this look again. Plus it was so easy to do using the advanced stamping technique. It is my absolute favorite look so far this year.
This next look while not quite as pretty as my floral image is one that I am very proud of. For years I've been admiring the needle drag manicures that pop up in my news feed, and have attempted the technique a handful of times with horrific results until now.
This was the first look I created for Valentine's Day and my first successful needle drag manicure. I know it's not much but for me finally getting this technique to work was huge! What was the secret to my success? You'll have to read the original post to find out, I'm not giving away all my secrets today.
I haven't attempted to do another needle drag yet this year but have a few ideas in mind, plus I'd like to do a full hand look instead of just the accent nail. And I think colors with a bit more contrast will give a more interesting look.
The beginning of March brought a lot of green nail polishes to my blog for St. Patrick's Day and has ended with some softer shades and we ease into spring. I have to giggle at the "ease into Spring" part because as I'm writing this post they are predicting another 9 inches of snow to fall tonight. Hopefully, it will all be melted when this post goes live. *Fingers crossed*
My first look from March is the drip marble I did for St. Patrick's day. I shared this look is both a glossy and matte version. While I like both looks the matte version won my heart and is my second most favorite look so far this year right behind the Ground Hog day floral.
Finishing up my quarterly favorites is the art deco look I shared last week. This was a blogger meet up manicure featuring the reverse stamping technique and my second geometric manicure this year. Did I mention I have a slight obsession with geometric manicures?
This is the first manicure I can remember doing where I mixed two different techniques on one nail. The first being a smoosh manicure and the second a reverse stamped look. I really like the classy, elegant feel this accent nail has which is why it made it into my top 6 looks this year. mixing two techniques together is a great look and need to remember to do this more often. I know gradient and stamping are commonly mixed together but I have yet to do a manicure like that. Maybe I'll have one in my next quarterly favorites post?
I hope you enjoyed this look back at the first 3 months of blog posts. I hope a few of you decide to join in on the Untired A-Z Challenge, full details can be found at the Facebook Event. If you decided to recreate any of these looks please share them with me on my Facebook page or tag me on twitter. Thanks for stopping by and Happy Polishing.
Which look is your favorite?
Tuesday, March 27, 2018
I'm back with another collection from Orly. Today I'll be sharing my thoughts on the new spring collection, Pastel City. This 6 piece collection consists of a mixture of creme and pearl finishes in pale colors perfect for the season. Now I know the pearl finish in an unpopular one but why is that? Is it because they tend to dry with all those unsightly brushstrokes we all tend to hate? Well, keep reading because I've got a trick to get rid of those. One that just might make you want to break out that beautiful polish you've been ignoring because of those aforementioned brushstrokes.
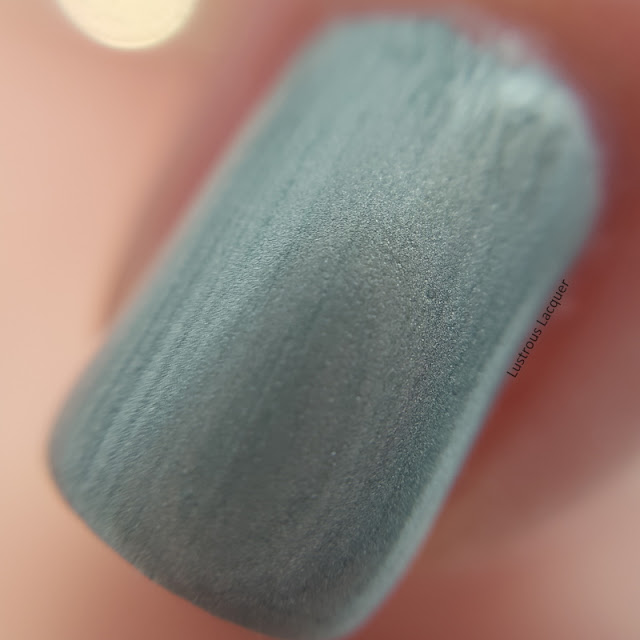
Electric Jungle
Color: An Icy sage green polish with a pearl finish.
Application: The formula for this polish is a little thinner than normal which surprised me because it's extremely opaque. I was able to get complete coverage with one coat. It is still easy to work with as the polish applied evenly on the nail. As you can see it suffers heavily from brushstrokes. But here comes that trick I mentioned earlier. You'll notice there are no brushstrokes on my ring finger, that's because I sponged on the second coat. by applying the polish this way I was still able to see the color and depth of this polish without the brushstrokes. Pretty neat huh. Polish is shown as two coats plus top coat.
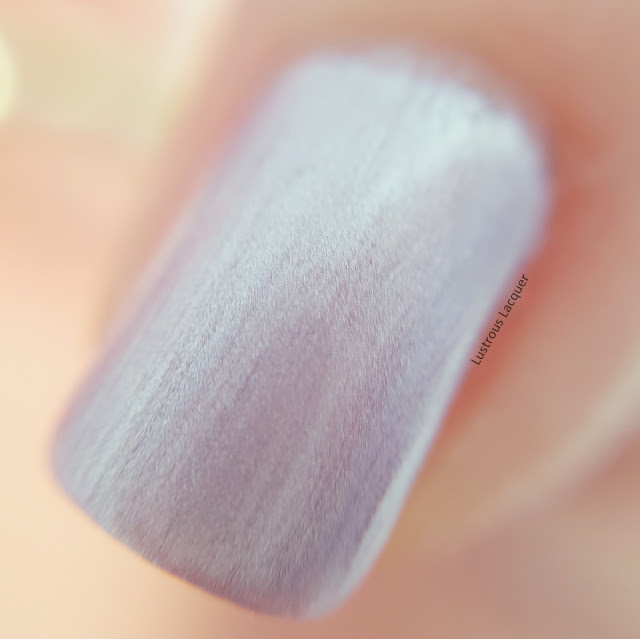
Lilac City
Color: Icy pink polish with a hint of a purple undertone in a pearl finish.
Application: The formula again was on the thin side for such an opaque polish. This is another one coat polish with even application. As you can see Lilac City also dries with quite a few brushstrokes and that the sponging method helps eliminate them. Shown here as two coats plus top coat.
Power Pastel
Color: Extremely pale pink nail polish with a creme finish. This one is so pale it almost looks white.
Application: The formula for this one is a bit thicker than the previous two polishes but has what I'd consider a nice consistency. I wasn't quite able to reach full coverage with one coat but power Pastel is still a highly opaque polish. I did have a few streaks on the first coat and sadly this polish is not a self-leveler. Full opacity and even coverage was achieved after two coats. Shown as two coats plus top coat.
Pink Noise
Color: Pale peach creme nail polish with a pink undertone.
Application: the formula for this is a bit on the thin side but extremely opaque. Like Power Pastel, this is close to being a one coat coverage polish. The first coat applied smoothly and evenly. Shown here is two coats plus top coat.
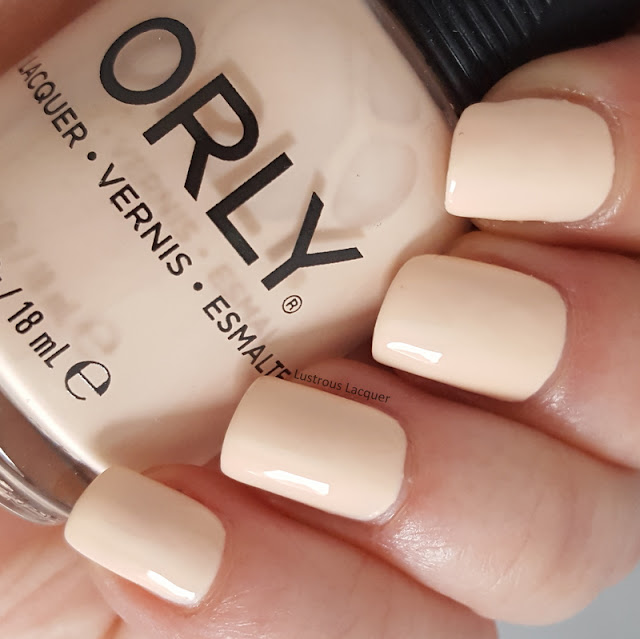
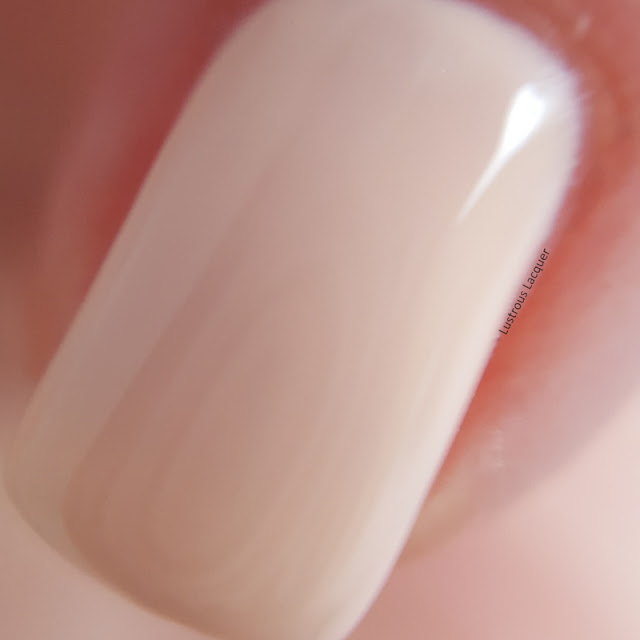
Cyber Peach
Color: Muslin cloth colored creme nail polish with a peach undertone.
Application: Creamy formula with a high opacity. I did have a slight issue with streaking when I applied this in a thin coat and the polish does not self-level. I was able to avoid the streaks when I switch to my "normal" coat for the application. Shown here in two coats plus top coat.
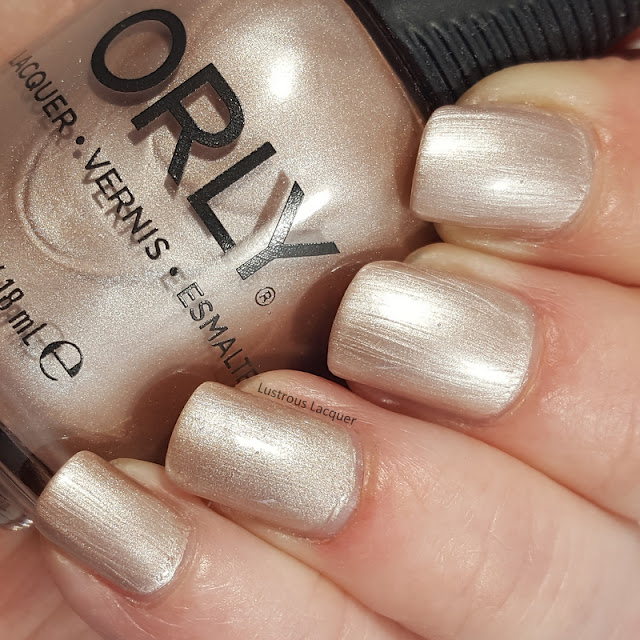
Metallic Haze
Color: Sandy Champagne colored nail polish with a pearl finish.
Application: The formula has a nice smooth consistency but again is a bit thin. This is another highly opaque polish with full coverage on the first coat. Like the other pearl finished polishes in this collection it also suffers heavily from brushstrokes. You can see from my ring finger that the sponging method works once again for avoiding those brushstrokes. Shown here is two coats plus top coat.
Overall I think this collection is just ok as far as the variety of colors go. The cremes all seem to be pretty bland with the exception of Pink Noise. Although I think that one should have been named Cyber Peach. I do have to say that I was extremely impressed with the opacity of these and was curious about how they would work for stamping. Being the stamping fan that I am, I couldn't let that curiosity go unfulfilled so I did this...
Using Power Pastel as my base I stamped an image from Pueen plate Marble Paradise 01 with Electric Jungle, Lilac City, Pink Noise and Metallic Haze. As you can see I was right to think that these would stamp. They all worked beautifully!
What are your thoughts on this collection, are you like me and wish that there was a bit more color to the creme finishes? Did you find my little trick for avoiding brushstrokes helpful? Let me know what you think in the comments and as always, Thanks for stopping by and Happy Polishing!
Sunday, March 25, 2018
Lustrous Lacquer
8:28 AM
Top Shelf Lacquer
Top Shelf Lacquer - The Drinking Games Pastels (Press Release)
| |||||||||||||||||||||||||||||||||||||||||||||||
|
Friday, March 23, 2018
*Press Release*
It's that time of year again when Zoya does their annual Earth Day Nail Polish Exchange. I know many of you look forward to this time of year and wanted to make sure you have all the details.
ZOYA EARTH DAY EXCHANGE
Click Here for the Earth Day Exchange Countdown!
HOW THE EXCHANGE WORKS...
1.) Visit www.zoya.com and add a minimum of 6 bottles of your favorite polish colors (no more than 24 bottles) to your cart – Consumer Accounts Only
2.) Apply code: HEALTHY and a 50% credit will be deducted from your exchange order - FREE SHIPPING INCLUDED!
3.) Complete checkout and you’re all set! If you need further instructions on sending back your unwanted polish, see below.
RETURNING YOUR POLISH
Once you receive your order, decide if you are going to send in your unwanted polishes or donate them to a local cause. We are using the honor code to make sure you get your Zoya Nail Polish as quickly as possible! Offer is not contingent on customer returning polish; we assume you’re going to do the right thing! If you do choose to send us your old polish, we promise to properly dispose of it according to environmental guidelines. If you choose to ship back polishes, please include a copy of your invoice with your order. You do not have to send us the exact amount of bottles that you are ordering, there is no limit!
Please note: You will need to check with your carrier of choice for guidelines and restrictions on shipping nail polish.
USE CODE: HEALTHY
Valid Monday 4/2/18 through Sunday 4/29/18 (11:59pm ET)
Open to US/Canada

*10 FREE FORMULA: FORMULATED WITHOUT FORMALDEHYDE, FORMALDEHYDE RESIN,
DIBUTYL PHTHALATE, TOLUENE, CAMPHOR, TPHP, PARABENS, XYLENE, ETHYL TOSYLAMIDE, and LEAD.
Thursday, March 22, 2018
Happy Thursday Everyone! I hope your spring season has started off better than mine did. The weather in Minnesota was anything but for the official first day of spring. It was grey all day with a consistent mixture of rain and snow, with more snow predicted for this weekend. Needless to say, I'm not happy about that! I'm ready for sandal season! But enough about the weather, let's get to the real reason you're here the nail art. Today I'm sharing a look I created for a nail blogger meet-up I attended last month. I love geometric and art deco nail art looks and finally created one myself.
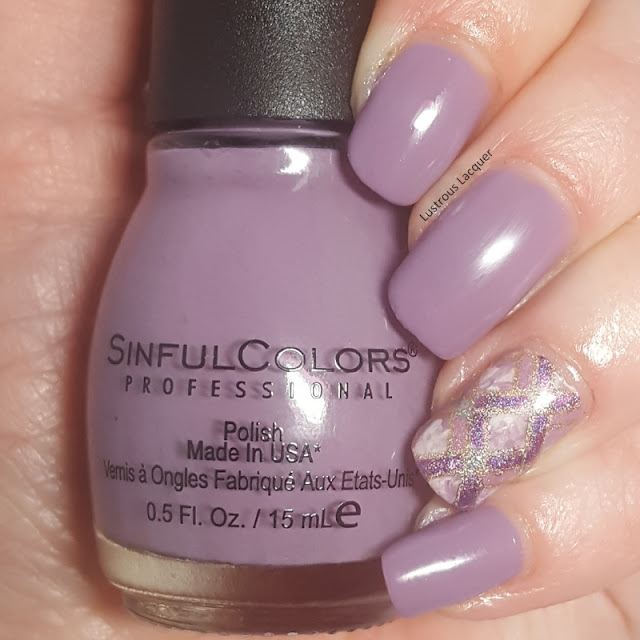
I used Sinful Colors Shock Candy as my main color. Which I recently reviewed in my 2018 Walgreens Exclusive colors post if you want to check that out. The accent nail is a combination of nail art techniques starting with a smoosh manicure and ending with some reverse stamping.
For the smoosh manicure I combined Sinful Colors Shock Candy and White Board. White Board was released earlier this summer as part of the limited edition Back to School collection called School Goals. The actual technique I used was to drop small amounts of each color onto my stamping mat so that they overlapped and ran into each other. (Very similar to the Drip marble technique except on a smaller scale.) Then I smooshed my stamper into the polish and dabbed it onto my nails until I liked the way it looked. Here's a video I did a few years back showing the exact process.
After that, I added a layer of top coat and let it dry while I moved onto the next step; reverse stamping.
I used my nail art mat for this step also and it worked like a dream. The image is from plate UR Beautiful-18 and I used Hit the Bottle A Glint of Gold to stamp with. I filled in parts of the image using Sinful Colors Mixed Signals, Beyond the Nail Wink and Supermoon Lacquer Moon Crystal Power. A layer of Sally Hansen Double duty went on over that and I let everything dry so I could peel it up and apply it to my nail.
I like the way the gold stands out from the rest of the manicure. It was a bit easier to see than what my camera shows.The sparkly and shine ended up hiding a few details. The next shot should give you a better idea of what it looked like to me.
Sadly Moon Crystal Power kind of got lost in all the other colors on the nail. (It's the lighter pink shade at the edge of the design.) But I will have a review of it coming up shortly so be sure to come back for that. Otherwise, I love how this manicure turned out. I think Id like to try something similar in a full manicure next time. What do you think? Thanks for stopping by and Happy Polishing!


