
Hello, my fellow lacquer lovers. I hope you are having a great Labor Day weekend. I'm one of the lucky ones who get to work all weekend. But, I wanted to get in a quick post for all of you.
Today's NOTD post is Essie Armed and Ready from the Go Overboard Collection. I would describe this color as a dark brown toned grey with a coppery shimmer. The shimmer is very subtle almost hidden but when you get it into the sunlight it really sparkles.
 |
| Incandescent light no flash |
 |
| Incandescent light with flash |
 |
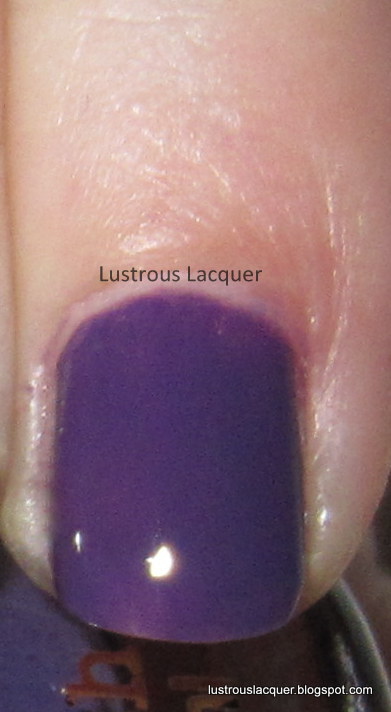
| Incandescent light |
I wanted to include this one last shot because I think it captures both sides of this polish. You have the shimmer and the dark creamy finish. Armed and ready is one of those colors that I wasn't sure I would like at first but I'm really glad I purchased. It's very different from any other color I have in my collection and I love the hidden shimmer. I think it adds another dimension to the polish that you don't notice at first because it's hardly evident in the bottle.
As always thank you for taking the time to read my post and I hope you enjoy the rest of the weekend.


