
St. Patrick's Day Drip Marble Manicure
*Nothing to Disclose*
It's that time of year when people start seeing green. No, I'm not talking about money, I'm referring to St. Patrick's Day. The time of year when everyone is a little bit Irish, city's colors their rivers green, our beverages turn green and for me, it's my nails. But this year I was stumped on how to paint them until I remembered the beautiful drip marbles that Kerry from Painted Fingertips creates. So thank you, Kerry, for inspiring my St. Patrick's Day nail art this year.

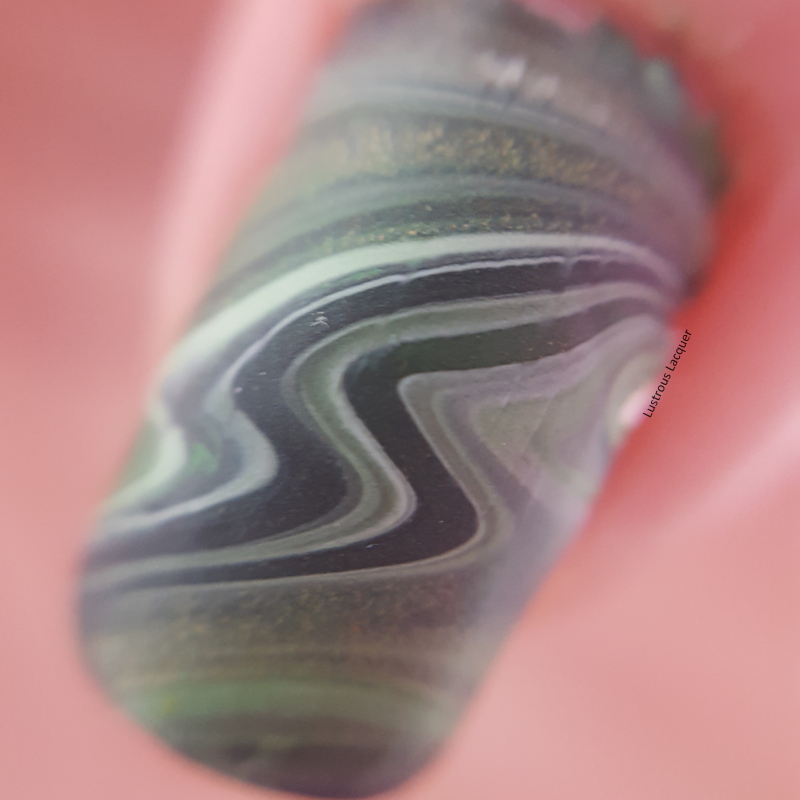
I have to say I am in love with how this turned out! And it looks great both glossy and matte although the matte version ended up being my favorite. Which one do you prefer?

I used polishes a variety of polishes to create this look, Sally Hansen's Granny Smith Apple, Sinful Colors White Board and Wet n Wild Poison Ivy and Deadly Dose. The brush in the Wet n Wild polishes is wider and made dripping the polish very easy but even the smaller brush in the Sinful works for this type of nail art.

The first time I did a fluid nail art like this I used my nail art mat. This time around I took a page out of Kerry's book and used the top to an old sour cream container. The top is a stiffer plastic than the mat which made controlling how the polish moved a bit easier to manage.

For those of you wondering how I created this look, it's actually very easy. I just placed random drops of each polish on my lid, making sure that they overlapped and started to run together. Then I simple tipped and turned the lid until the polish had spread out evenly on the lid. I let the design dry for about an hour and a half before continuing on to the next step. Kerry actually created a video on how to do this if you want to see how it's done in real time.
Easy right? Well, the one trick is choosing the right polishes. A nice mix of finishes and colors is key to getting a good marbled effect. I'd avoid polishes with larger glitters because they seem to be too heavy and the base is a bit thick but micro glitters seem to work well.

After my design dried all that was left was to peel it up, but out the parts of the design I wanted and apply them. The best way I've found for applying homemade decals is using a layer of Orly Bonder and letting it dry about 90%. that way it's still a bit tacky but not so wet that your decal dissolves. A little trimming, some cleanup and I you're done.
So there you have my St. Patrick's Day nail art for this year. What do you think of the drip marble technique, will you be trying it out? I hope you enjoyed today's post and if you try this technique I'd love to see them. Feel free to share your creations with me on my facebook page. I'll be back next Tuesday with another post in the Untried A-Z Challenge but until then, Thanks for stopping by and Happy Polishing!


No comments:
Post a Comment