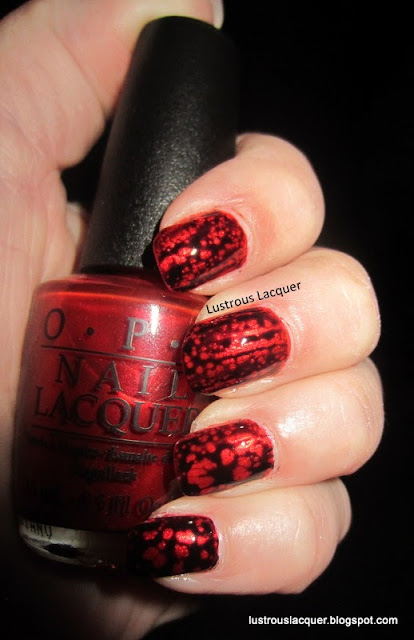
Showing posts with label Special Effect. Show all posts

Friday, June 27, 2014

6:00 AM

Put Up Your Dupes. OPI Spotted vs. Fing'rs Get Spotted

 
     Hi Everyone. I'm currently on vacation, camping with my family deep in the Northern wilderness. But I still wanted to share a post with all of you. Today's post is one that's long overdue. Today I'll be comparing the Fing'rs Get Spotted top coat and OPI's Spotted.  You can find my original post about Get Spotted here.

     So this won't be the in-depth comparison that I originally wanted it to be because I'm a little pressed for time right now. I still have a ton of packing to do, and I've got 6 volleyball games to play tonight. Nothing like waiting till the last minute right?

     In my picture, I've shown both topcoat applied the way they are supposed to be applied, and also with my little top coat trick.


     OPI Spotted is on my pointer and ring fingers, Fing'rs Get Spotted is on the middle and pinky. The base color is Orly Flawless Flush. As you can see there is quite a bit of difference between all 4 fingers.  My ring and pinky fingers have the specialty coats applied according to the directions. I got mostly cracks and a few spots. OPI seemed to perform better, but still not with the desired results.

     Now for my little top coat trick. When I originally tried the Fing'rs Get Spotted I oopsed and applied a layer of quick dry top coat to my base color before the Get Spotted. And I got amazing results. I decided to see if I could get the same results with OPI. On my pointer and middle fingers I tried out this trick again and would you look at that! I got the desired "spotted" effect.


    OPI Spotted still performed better than the Fing'rs Get Spotted. The trick is still to use extremely thin coats even if you use a top coat in between. The thinner the coat the better the results. If I had to choose between the two I'd go with OPI. OPI Spotted is considered a HTF polish if you can't get your hands on it, the Get Spotted is an ok substitute but definitely not a dupe.

     I've recently been made aware that Fing'rs has changed the formula of their Get Spotted polish. I have the original one that came in a kit. I have no knowledge if the newer version is better or not, but I do want to make you aware of the change.

     Thanks for stopping by and Happy Polishing!


Monday, April 28, 2014

6:00 AM

What's in a finish? Specialty Polish


     Today for the whats in a finish series we take a look at specialty polishes. There are many different types of specialty polishes but the most common are Crackle, Magnetic, and Spotted. While these seem to be passing trends, you still see them pop up every now and then.

     Let's start off by taking a look at the crackle finish. Crackle nail polish is a layering polish that cracks to create different patterns. This is the most user-friendly of the 3 polishes we will be looking at today. The polish cracks all on its own without the assistance of anything else, and from my limited experience with it the thickness of the coat doesn't play a factor.


     Now let's take a closer look at the Magnetic Polish. Magnetic nail polish doesn't require anything underneath for it to work, but I always recommend a base coat. You then put down one layer of the polish but on the 2nd coat you hold a magnet (usually provided in the cap) over the polish for 10 seconds and a pattern is created in lighter and darker parts on the nail.

Nabi-Purple-Magneic-Polish-Lustrous-Lacquer

     It's no secret that there are iron shavings in magnetic polish. That's why it responds to the magnet. But what isn't clear is why the nail polish forms a distinct striped pattern. Most of us have seen metal shavings hanging from the ends of magnets in long 'beards,' so it seems like the whole coat of polish should just pull to a peak right under the magnet. It doesn't because the magnet in the jar isn't just an 'end.'  but both poles going to work on the shavings.

     While not overly complicated to apply, magnetic polish does have a little bit of a learning curve to it. Especially with how long to hold the magnet over the polish, or how close to get to the nail.

     Last but not least we have the Spotted finish. Both OPI and Fing'rs have come out with this type of specialty polish. Just like the crackle finish, the spotted finish is a layering polish. This is probably the hardest finish to work with for most people. It requires an extremely thin layer to be placed over your base color. I actually had huge success the first time I used the Fing'rs Get Spotted polish, but I didn't follow the directions. You can see what I mean by checking out my previous post.

Fing'rs Spotted
Fing'rs Get spotted over OPI Die Another Day
     There are other types of specialty polish out there also. I know Barry M has one that is very similar to the crackle finish. I'm sure there are more, but these are the ones that I am familiar with. If you know of another one I'd love to hear about it in the comments.

     I hope you have enjoyed this post, and found it helpful in some way. Thanks for stopping by and Happy Polishing!


Friday, February 7, 2014

6:00 AM

Finger Paints - Kaleidoscope Collection


    Back at the beginning of the year, I was lucky enough to win the new Kaleidoscope Collection from Finger Paints. From the moment they arrived at my door, I wanted to get them up on the blog. But I didn't want to do a few here and a few there. Unfortunately, due to time constraints, this post was pushed back a month later than I wanted it to be. Finally, I am able to share these new specialty toppers with you. I apologize right now about this being a very picture heavy post. So let's get to it, shall we? All photos are shown without top coat and are 2 coats unless noted.

Finger-Paints-Kaleidoscope-Collection-Flakie-Top-Coat

     This collection consists of 6 polishes; 5 flakie top coats and a black polish to use as a base. Let's start out by taking a look at Black Expressionism.

Finger-Paints-Black-Expressionism
    
     I was really impressed with Black Expressionism. It is a true one coat black polish that dries to a high shine. The application was effortless. Shown here is 1 coat without top coat.


Finger-Paints-Psychedelic-Hue-Flakie-Top-Coat-Kaleidoscope-Collection

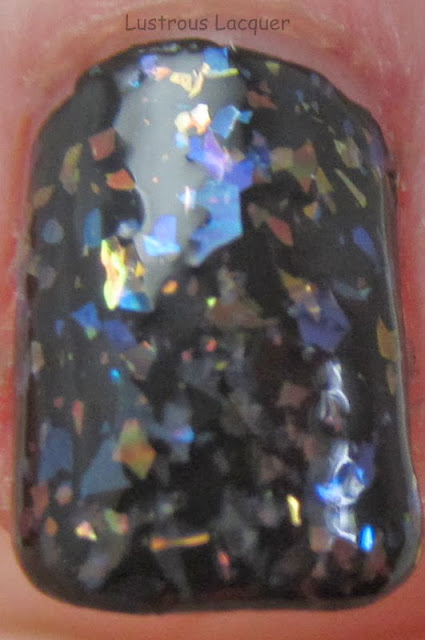
     Psychedelic Hue contains green and blue flakes with flashes of yellow and hints of purple.

Finger-Paints-Psychedelic-Hue

     Here I layered 1 coat of Psychedelic Hue over 1 coat of Black Expressionism.


Finger-Paints-Psychedelic-Hue-Flakie-Macro

     I was able to get pretty decent coverage with only 1 coat but would recommend using 2 for full coverage.


Finger-Paints-Vivid-Reflection-Kaleidoscope-Collection

     Vivid Reflection had purple and magenta flakes with hints of orange, blue and, green.

Finger-Paints-Vivid-Reflection-Flakie-Topcoat

     Vivid Reflection is one of my favorites from this collection because it has different colors than the other flakie polishes I own.


     The more I look at the one the more I like it. But it's not my absolute favorite. I'm saving that one for last. I'd say this was my second favorite of the bunch.


Finger-Paints-Symetrical-Symphony-Kaleidoscope-Collection

     Symetrical Symphony contains yellow and blue flakes with flashes of green, orange and, purple.


Finger-Paints-Symetrical-Symphony
   
     Symetrical Symphony gave me the best coverage out of the entire collection.

Finger-Paints-Symetrical-Symphony

     I'd have to say this is my 3rd favorite of the collection coming in just behind Vivid Reflection.


Finger-Paints-Colorful-Dream-Kaleidoscope-Collection

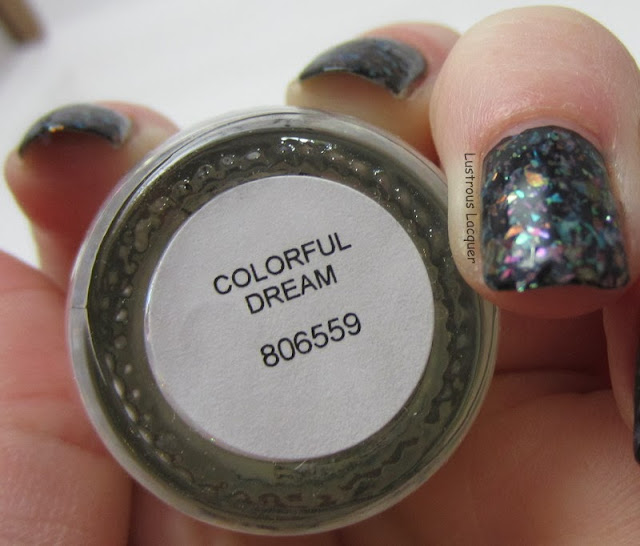
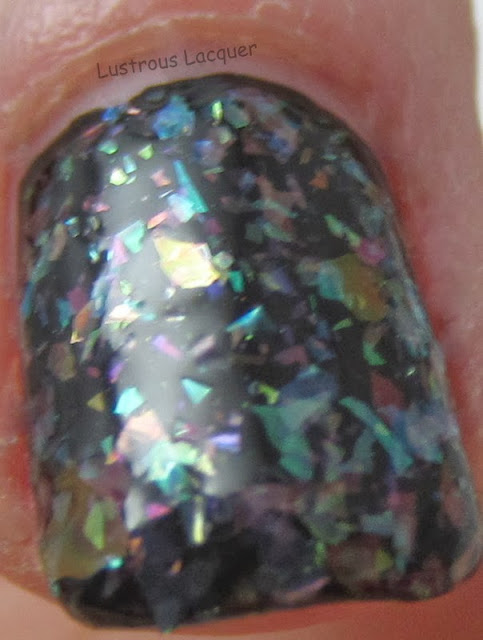
     Colorful Dream certainly lives up to its name, with flakes the color of a pastel rainbow.


Finger-Paints-Colorful-Dream

     
       The colors; while being on the pastel side still manage to pack a punch as they catch the light.


Finger-Paints-Colorful-Dream
    
     If you're looking for a topper that goes with everything I say Colorful Dream is the one you want.

Finger-Paints-Abstract-Attraction-Kaleidoscope-Collection

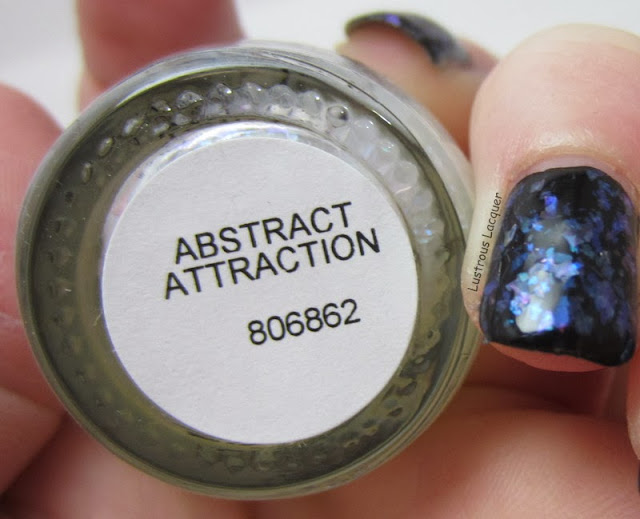
     Abstract Attraction turned out to be my surprise favorite of the collection with it's deep blue, aqua and purple flakes.

Finger-Paints-Abstract-Attraction

    I like how deep the colors are in Abstract Attraction. The contrast isn't as intense as the others but it still makes an impact.

Finger-Paints-Abstract-Attraction

     Did Finger Paints find a way to cure my desire to own the original 2012 flakie collection? I wouldn't say that exactly. While this collection is fun and different it's not as vibrant and has me still wanting to get my hands on the 2012 set. I do like that the base has remained clear so far instead of yellowing like the previous collection though. I'd say the Kaleidoscope collection is a toned down version of the original.

     The Kaleidoscope collection is now on shelves at Sally Beauty Supply if you'd like to get them for yourself. Even if you're not impressed with the entire collection I would still seriously consider getting Black Expressionism. I can't wait to see how well it stamps!

     If you've made it this far in my post I want to thank you for sticking with me through another long one. I promise to wait awhile before I throw another one of these at you. Id love to hear your thoughts about this collection vs. the 2012 version. Thanks for stopping by and Happy Polishing!


Wednesday, August 21, 2013

11:47 PM

Fing'rs get spotted


     Hello everyone! Looks who's back to finally blogging! Its been a long time and I've missed this, but life has a way of throwing us curve balls doesn't it. I'm not quite at a place where I can start posting again on a regular basis but I hope to have a bit more frequency in the near future. Thank you all for bearing with me. Now on to the fun stuff...

     Today I have a review for you on the get spotted kit from Fing'rs that I purchased from Wal-mart. After weeks of checking my local store, I was finally able to track one down while on Vacation. I may have done a little happy dance right there in the aisle and embarrassed the boyfriend's daughters in the process. They still begged me to do their nails as soon as we got back to the cabin though.

Fing'rs get spotted


     For those of you unfamiliar with this product it can be found at Wal-mart and costs about $8.00. I was so excited to get my hands on it I forgot to look at the actual price and no longer have the receipt. I tried to look the actual price up on their website but it was not listed.


     I have heard a lot of mixed reviews and feeling about this product with results ranging all over the place. There is a bit of a learning curve to this kit but with a little research first, you can get good results the first time out like I did. I knew that the best results came from applying it in really thin coats. And I mean REALLY thin. I wiped almost all of the polish off the brush before application. I accidentally stumbled upon another trick to getting good results that I'll let you know about a little later in the post.


Fing'rs Spotted
 outdoors in natural lighting


     Here I have one coat of Spotted over OPI's Die Another Day. I wanted something with a high contrast so the results would show up clearly. The next picture I have to show you was taken outdoors also but for some reason, the flash went off. I decided to throw it in my post because it really shows the effect this top coat can have.

Spotted
Outdoors with flash

     So I had some pretty good results for my first time trying this kit wouldn't you say? I'm not sure I would have if I'd followed the directions on the box. This is where my happy little accident comes into play. The directions say to 1. Apply your base color and allow to dry completely. 2. Apply black spotted top coat. and 3. Allow polish to dry and add a clear top coat. Well, I wasn't thinking and applied a coat of Seche Vite before applying Spotted. But boy am I glad that I did. I decided a few days later to see if I had followed the directions if I could still get good results. Guess what... I didn't.


Spotted


     My thumb on the left is done following the directions and the one on the right was done with top coat between the polishes. Neither one has a final layer of top coat. On both thumbs I applied a thin layer of Spotted but the left thumb looks like it wanted to crackle instead of spot. If my full manicure had turned out this way Id be on my way to the store to get a refund. I was not happy with that result at all. I do have to warn you if you use my little trick that you should apply 2 coats of top coat to the finished mani and wrap your tips. Something I am horrible at remembering to do by the way. *must remember to wrap tips* Otherwise the next day you could end up with something like this.


Spotted peeling
     After one shift at work the spotted top coat started peeling off  in little sheets. It almost looked intentional after a little bit with the way it peeled but I was still disappointed. I thought I had a fool proof trick for this kit to share with everyone. But I will keep trying till I get it right!


Spotted peeling close up
Close up of peeling.

     As you can see from this close up shot the top coat seems to be separating from the spotted and they are both peeling up from my base color. I really hope that wrapping my tips will prevent this from happening in the future because I loved the look I got with this kit and would like to be able to wear it for more than a day.

     Have you tried out the get spotted kit? Is this something you'd want to purchase? Let me know in the comments section, especially if you have any tips to share.

*This product was purchased by me. All photos and opinions are my own.*

Like what you see? Share it with your friends!