Showing posts with label Red Angel. Show all posts

Wednesday, December 7, 2016

6:00 AM

Double Stamping Floral Manicure


     Today I'm going to share with you my first attempt at double stamping. This is a look that I've seen people do numerous times and have always wanted to try. The thing that held me back was my inability to place images on my nail in the positions that I wanted. Well, the invention of the clear stamper changed all that and I decided to give this look a try. For those of you who are in the same situation, I highly recommend checking out the clear stamper options out there, to see which one would be the best fit for you. I am currently loving the Monocle stamper from Bundle Monster. It has a larger stamping surface than the original clear jelly stamper and is shorter. I like that because it's easier than staring down the skinny tube. And after writing those last few sentences, I've come up with the idea of showing and comparing those stampers so look out for that in the coming new year. 


      For this look, I started with a base of Orly Terracotta, a vibrant coral polish. Using Red Angel plate RA-116 I stamped my leaves with Sally Hansen Green with Envy.


     From the same Red Angle plate, I went in and added roses with Sally Hansen Mellow Yellow. It didn't create quite as much contrast as I was hoping for, but I do like the feel it created. There was just something about the rich coral color that screamed tropical oasis to me, and I was in the mood to wear something fun on my nails. The muted tone of the stamping helped it keep this from heading in the wild tropical vacation direction and stick with the private island getaway I wanted.


     I hope you enjoyed today's look, let me know what you think in the comments. As always thanks for stopping by and Happy Polishing!


Friday, March 18, 2016

6:00 AM

40 Great Nail Art Ideas - 3 shades of Green


      Happy Friday to everyone! I'm finally back with another look for the 40 Great Nail Art Ideas Challenge. This week is 3 shades of green! How appropriate with yesterday being St. Patricks Day. Hmmm that was some clever planning by The Crumpet huh. Or do you think it was just the luck of the Irish?

     Now if you're new here you might be wondering what the 40 Great Nail Art Ideas Challenge is all about. So first of all welcome, I'm so glad you're here! And secondly, here's a little bit about what this challenge actually is. This challenge is set up a bit differently than most. For starters there is the option to do weekly manicures with one week dedicated to themes, and one to colors. Or you can do every other week and stick with themes only or colors only. For the color portion of the challenge each person is also assigned a pattern. The end result is 40 different looks all done in the same colors. As most of you know I opted to do the color challenge and you can see my previous looks using TealOrange, Purple and GreenBlack and WhiteGreyGlitter toppersPale Blue , 3 shades of Purple and Turquoise.  Whew we've done a lot of looks so far! Now for today's manicure.

    My "pattern" for today was an accent nail. I know not really a pattern but it is a nail art look so it still fits the theme. And is a really easy look to pull off! After thinking way too hard about what I wanted to do for my manicure I decided on the seran wrap technique.

      If you have ever done this technique you know it makes a mess. And there's nothing worse than cleaning up green nail polish from your skin right? Well blue and red polish are right up there too I guess.  I used my new bottle of Simply Peel latex barrier from My Bliss Kiss to keep the mess at bay and was very happy with the results. Plus it makes your skin sparkly when it dries and who doesnt like to sparkle?

Seran-wrap-manicure-St.-Patricks-Day-nail-art

    Using Zoya Tracie as my base color I dabbed on Sinful Colors Exotic Green and China Glaze Cast a Spell. Exotic green is a rich avocado green polish with a creme finish.  It really blended in but can be seen towards the cuticle on my middle finger. Cast a spell is a dark green with hints of gold glitter polish that seemed to take over the entire manicure. Leaving me with much less depth to this look that I originally wanted. 


   The best blending I was able to get is shown here on my ring finger. And because of this I decided to switch up my accent nail and shift it over to the middle finger. Which I'm still not entirely sure I like honestly. I think it's just because I'm so used to seeing the accent on the ring finger. 

   
     For the finished look I used Hit the Bottle To Have and To Gold with Red Angle plate Ra-116. Sadly with all the stamping plates I own the St. Patricks themed images were slim pickings. And this clover was really my only option.  But can we take a minute to ohh and ahh over who well this gold polish stamps! Just look at how bold it is over the dark base. I am so so so glad that I finally ordered a few of these polishes to try out. And now I am anxiously awaiting a restock so I can grab a few more. Ekkk Im so excited to stamp now, which is awesome because I haven't felt like even painting my nails in over a month. So be on the look out for those new posts coming up in the future, That's all I have for now. Make sure to check out the other amazing looks from today's challenge. Thanks for stopping by and Happy Polishing!


Friday, September 18, 2015

6:00 AM

Hobby Polish Bloggers Presents - Fall Colors


     It's time once again for the monthly link up presented by the Facebook group Hobby Polish Bloggers. This months theme is fall colors.  I don't know about you but I absolutely love fall colors. The colder temperatures and the fact that winter is approaching I can do without, but the trees look so pretty. I look forward to the changing leaves, especially since we have a tree in our yard that naturally does a gradient of red, orange, yellow and green. Add to that they form an almost perfect ball shape and you can't help but marvel at its beauty.  I knew right away I wanted to incorporate my love for this tree and the changing leaves in my manicure. 

Photo was taken in natural light

    After trying to come up with an abstract manicure idea and coming up empty handed I decided that I literal design would be best. Now I know what you might be thinking. Where are all those colorful leaves I describe earlier, where is the gradient of red, orange, yellow and green?  Well, it was a tough nail art day for me and sometimes it best to just walk away then risk further destruction. It happens to the best of us sometimes. 

     Turns out I didn't have a leaf image that I could have sworn Id used before and the one I did have was a solid image. I wanted one that I could fill in to show the leaves changing. After several failed attempts at decals, and the colors I wanted to use not working well for stamping I had one lonely leaf decal to work with. 

Photo was taken in direct sunlight

     To create this manicure I started out with Sinful Colors Snow me White and a classic french tip look.  Using a striping polish from Jordana called The Stylist I lined the base of the white and let that dry. 

     The decal was created using Red Angle plate RA-121 and Konad Black. I used my best efforts to fill the leaf in with Milani Bijou Bronze


    Overall, I like the finished look. I'm just a wee bit disappointed that my original idea didn't work out.  But fall is nowhere near over so I might try this again. Now let's see what everyone else came up with. Thanks for stopping by and Happy Polishing!


Friday, March 20, 2015

6:00 AM

China Glaze - Intelligence, Integrity & Courage


      Happy Friday, hooray we made it to the weekend! As of 3:20 this afternoon my kids will be officially on spring break. We have decided to take an impromptu vacation and head north to colder weather. I know I must be crazy right? Because this is so last minute I'm not sure if I will have posts ready for my blog and may miss my Monday and Wednesday posts. Fingers crossed I can get them done tomorrow. I just wanted to give you all a heads up about that.

     Now for today's polish, I have Intelligence, Integrity & Courage from The Giver Collection by China Glaze. I still have not read the book or watched the movie but I love the colors from this collection. I wonder if I can find the movie on Netflix? I'll have to check on that. But for now let's take a look at the polish. You might recognize it from my previous post on the Black Rhinestones from Born Pretty Store.

The-Giver-Collection

     Intelligence, Integrity & Courage is a medium grey creme with a slight blue undertone. The formula on this one was a bit tricky. The first coat applied streaky but self leveled as it dried. This can make for an interesting application process since you could be tempted to go over the nail multiple times causing bald spots to appear. Just be patient and let those streaks settle and you'll be left with a smooth finish.  Shown here is 2 coats plus top coat.


    The pigmentation is really dense and you could possibly get away with 1 thick coat for full opacity but I recommend applying two regular coats to avoid frustration. Because of the opacity I got with my first coat I figured this would make for a good stamping polish and I was right!


     I love the combination of yellow and grey together. I used Sally Hansen Mellow Yellow from the X-treme line on my accent nail and Red Angel plate RA-113. As you can see both polishes stamped really well.  I don't know if I love the design I chose but it is interesting. It reminds me of googly eyes. Which is fun and creeps me out at the same time. I know I might be crazy but I mentioned that at the beginning of this post so you had fair warning.  Well that's all I have for now, I've got some packing to do and a few other posts to write. Thanks for stopping by and Happy Polishing!

Monday, July 21, 2014

6:00 AM

Ellagee- Stained Glass Collection Part 2

      Today I have for you the second part of the Ellagee Stained Glass collection. Don't worry if you missed Part 1 you can catch up here. For this post I have Milk Glass, Ruby Glass and Cobalt Glass to share with you.

     First up is Milk Glass. A very shiny slightly creamy transparent polish that is perfectly named.

Ellagee-Stained-Glass-Collection-Milk-Glass

     The application was smooth and easy with the polish flowing nicely off the brush. Shown here with 3 coats alone it really does look like I dipped my fingers in milk.


Ellagee-Stained-Glass-Collection-Milk-Glass
   
     Just look at how soft and squishy it looks on the nail. Of course, I had to do some stamping between layers again.

Ellagee-Stained-Glass-Stamping-Milk-Glass

     I stamped with Red Angel plate RA-116 and Sally Hansen Color Foil Rose Copper. I really like the way this turned out but I think the image was a little too big for this to look right. Shown here is 4 coats of Milk Glass

     Next I have Ruby Glass. A shiny transparent hot pink jelly polish. Don't let the hot pink part scare you away though. After 2 coats Ruby glass started to deepen to a nice rich berry color.

Ellagee-Stained-Glass-Collection-Ruby-Glass
   
     The application was again smooth and easy. Here I have Ruby Glass shown with 2 coats alone.

Ellagee-Stained-Glass-Collection-Ruby-Glass

     As you can see after 2 coats there is barely a visible nail line. Out of the 3 polishes in this post, Ruby Glass had the highest opacity level with the least amount of coats.


Ellagee-Stained-Glass-Stamping-Ruby-Glass


     For the stamping here I used Knoad stamping white and Red Angel plate RA-111. This image fit nicer on my nail than the first. I have a feeling that if Id placed them a little closer together it would look like a shadow. Shown here is 3 coats of Ruby Glass.

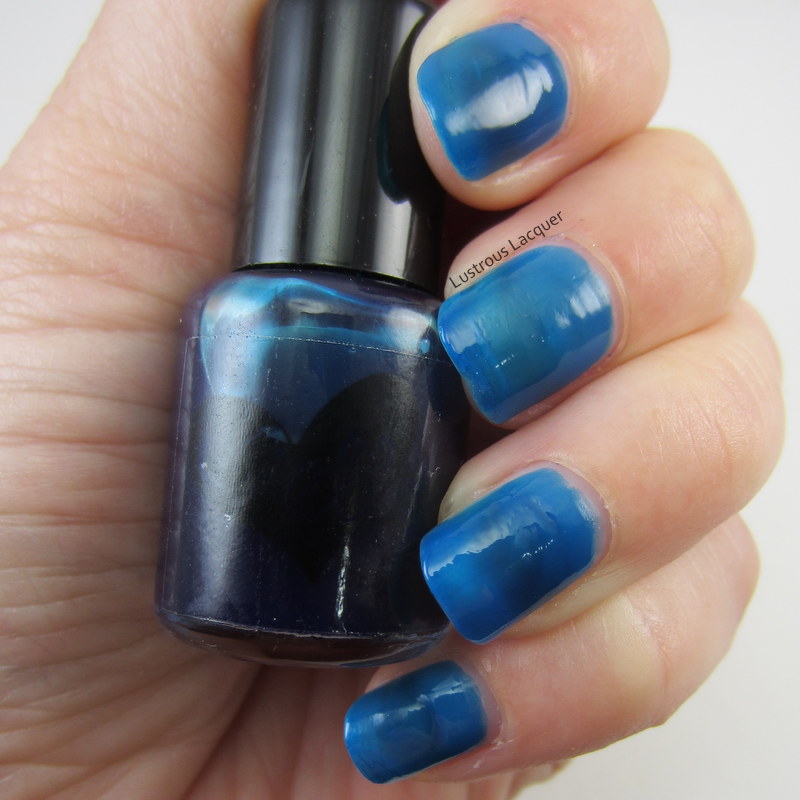
     And last but not least we have my favorite of these three. Cobalt Glass is a shiny transparent blue that darkens with each coat.

Ellagee-Stained-Glass-Collection-Cobalt-Blue

     Just look at that beautiful blue color. It reminds me of the ocean! Shown here with 3 coats again I had a perfect application.

Ellagee-Stained-Glass-Collection-Cobalt-Glass


     So pretty. I'm glad I waited to swatch this one last because then I could continue to wear it. And it looks even better with some stamping set between layers.

ellagee-Stained-Glass-Stamping-Cobalt-Glass
 
     Again I used Knoad stamping white but this plate is Red Angel plate RA-109. Shown here is 4 coats of Cobalt Glass without top coat.

     So there you have it 3 more polishes from the Stained Glass collection by Ellagee. There are still a few more polishes in this collection and I look forward to sharing those with you a little further down the road. Thanks for stopping by and Happy Polishing!


Monday, December 9, 2013

12:00 AM

The 12 days of X-mas Mani's day 5: Bells


      Well, It's days 5 of the 12 days of X-mas Mani's Challenge and today's theme is bells.


     My manicure is horrible and I don't like it one bit, but work got busy and I haven't had a chance to do the 2nd try. The picture I had in my head didn't transfer to the nail so well or at all really. That never happens right? It seems like that happens to me more often than not. I did tell myself that I was going to do every day in this challenge and for that reason only, I'm going to share this disaster with you.

     My idea was to have the green background look like the frost patterns on windows and the bells to look like it was ringing across my nails. Once again placement of the image seems to be my enemy. And I wish the green had shown up just a hair more.

     I used Orly Dayglow as my base. I then stamped with Maybelline Mystic green and plate RA-107 from Red Angel. For the bells, I used Maybelline Bold Gold and Image plate BM-223 from Bundle Monster.

     I hope my next manicure for the challenge turns out better than this one did. While you wait for that, why not check out what the other ladies did for day 5.

Like what you see? Share it with your friends!