Showing posts with label Drip Marble. Show all posts

Thursday, August 16, 2018

6:00 AM

Neon Pastel Marble


   So not that long ago I shared with you the Wild at Heart Collection from Sinful Colors. For those of you who missed that post, this collection consists of 6 neon matte polishes, an illuminating base coat, and a top coat. Why am I bringing this up? Today I'm sharing a nail art look with you that I created with this collection plus Acapella Ella.

     But before I show you the nails I should probably tell you how this look came about. Do any of you play around with the polish that collects on your workspace? I have a habit of watching Netflix while swatching and at times when I'm stumped for nail art ideas I just start grabbing random bottles from my desktop and playing around with them on my nail art mat. I test out color combos or sometimes just swatch it quick to see what the finish is like. This is actually how most of my fluid nail art looks and watermarbles come from. I  play around a bit until I come up with something I like.  That's exactly how today's look came about, I was stumped for ideas and decided to play around with the polishes on my desk.  It just so happens that the last collection I had reviewed was the Wild at Heart Collection.


     Remember that illuminating base coat I mentioned earlier, well I really should have used it as a base for this look. It would have made the colors really pop. I was smart enough to use it in my swatches, but not for this and I really wish I would have. 

     Just like my previous fluid nail art looks I created this by placing random drops of polish on my nail art mat in a small area. I liked the way the matte neons looked but wanted to lighten it up just a bit so I added Acapella Ella. Acapella Ella is a pale blue, almost white polish with a hint of sparkle. I feel the sparkle helps to tie it in with the other colors.


     Instead of picking the mat up and letting the colors run together I folded my mat in half horizontally and then vertically. This gave me a marbled and smooshed look which lets different colors stand out on each nail. I let it dry overnight and then peeled it off the mat and cut out the pieces that I wanted for my nails. I topped everything off with a glossy top coat.


     I know these fluid techniques take a lot of patience to create because of the long dry times but they are quickly becoming one of my favorite ones to do. What is your current favorite technique? Thanks for stopping by and Happy Polishing!


Thursday, April 12, 2018

6:00 AM

Purple, Green and Blue Drip Marble Nail Art


     Hey everyone, I've got a quick post to share with you today. And I do mean quick, I just got back from vacation and walked in my front door 20 minutes ago and I am exhausted and ready for bed! But I had to share my latest drip marble creation with all of you before drifting off to dreamland. 


     To create this look I reached for the newly released colors from Sinful Color. There are actually 6 different colors here but a few of them were overpowered but the darker shades and didn't really show up.

     The polishes I used are Rave New World, Positive Vibes from the Target LE tri, Sassy Lassie from this year's St. Patrick's collection, Unicorns R Real, Coco Bae and Forbitten Fruit which are core line additions this year. 


     Just like my previous drip marble manicure, I opted to show this one both glossy and matte. I honestly can't decide which look I like better. Although the glossy version is slightly ahead of the matte look for me on this one. 


     Although this look turned out a bit darker than I was expecting I'm still very happy with the results. This technique is quickly becoming one of my favorites. Have you tried this technique yet? Do you like the glossy or matte version better? That's all I've got for you today, now it's tie to unpack and settle in because I have a feeling reality is going to hit hard tomorrow. Thanks for stopping by and Happy Polishing! 


Thursday, March 29, 2018

6:00 AM

Lustrous Lacquer's Quarterly Favorites Round-up


     I've decided to try a new feature on my blog this year in the form of a round-up. Every three months I'll look back and share some of my favorites looks from those months. This way I will be able to really see how I've progressed as a nail artist and also see if I tend to lean more towards one technique or do a good job of mixing them up. I haven't decided yet if I'll just do nail art looks or incorporate swatches also. I'm kind of doing this on the fly and hoping for the best. So, what are my Favorite looks from January, February, and March? Let's take a look.


    January started off with some nail art featuring the Orly Darlings of Defiance Collection. While I created two looks for that post one really stuck out in my mind. The gradient I created using Penny Leather and Champagne Shushe.


     There was just something about this color combination that I really liked. This combination was also a bit out of my comfort zone and I'm proud of the fact that I'm starting to branch out a bit. Even if it is just a small amount. More photos of this look can be found in my Nail Art with Orly Darlings of Defiance post. 

     January also saw the start of the Untried A-Z Challenge, another new series for my blog this year that I hope you are all enjoying. I've mixed things up a bit with this challenge and have done some swatches, shown two polishes and shared a bit of nail art. My next favorite look is from the second week of the challenge, Letter B week


     This is some of the cleanest, crispest stamping I have ever done and that is the reason I've chosen this as one of my favorites. Not to mention I have a little obsession with geometric nail art right now. I've gotten away from sharing nail art in the latest posts of the Untried A-Z challenge but will be getting back into it as the challenge progresses. Speaking of the Challenge, next week starts letter G week and I'd love to see more people participate. This is a come and go kind of challenge where you can do as many or as few prompts as you like so feel free to join in. Even if you didn't mention the challenge in your post but used a polish with a G in the brand name or polish name add it to the link up! Help me get the word out and let's get through those untried polishes together. 

     February was a short month but I was still able to squeeze in a few different looks and some new techniques. I started out with a technique I'm very comfortable doing and ended with one I've been trying to master for years. This first look was my Groundhog Day prediction manicure which sadly turned out to be wrong and winter is still hanging on.


     I am full on head over heels in love with this look. I love the bold vampy base color, I love that it's got flowers, the contrast between the gold and berry wine is gorgeous and I want to wear this look again. Plus it was so easy to do using the advanced stamping technique. It is my absolute favorite look so far this year. 

    This next look while not quite as pretty as my floral image is one that I am very proud of. For years I've been admiring the needle drag manicures that pop up in my news feed, and have attempted the technique a handful of times with horrific results until now. 


     This was the first look I created for Valentine's Day and my first successful needle drag manicure. I know it's not much but for me finally getting this technique to work was huge! What was the secret to my success? You'll have to read the original post to find out, I'm not giving away all my secrets today. 

      I haven't attempted to do another needle drag yet this year but have a few ideas in mind, plus I'd like to do a full hand look instead of just the accent nail. And I think colors with a bit more contrast will give a more interesting look.

     The beginning of March brought a lot of green nail polishes to my blog for St. Patrick's Day and has ended with some softer shades and we ease into spring. I have to giggle at the "ease into Spring" part because as I'm writing this post they are predicting another 9 inches of snow to fall tonight. Hopefully, it will all be melted when this post goes live. *Fingers crossed*


     My first look from March is the drip marble I did for St. Patrick's day. I shared this look is both a glossy and matte version. While I like both looks the matte version won my heart and is my second most favorite look so far this year right behind the Ground Hog day floral. 

     Finishing up my quarterly favorites is the art deco look I shared last week. This was a blogger meet up manicure featuring the reverse stamping technique and my second geometric manicure this year. Did I mention I have a slight obsession with geometric manicures?


    This is the first manicure I can remember doing where I mixed two different techniques on one nail. The first being a smoosh manicure and the second a reverse stamped look. I really like the classy, elegant feel this accent nail has which is why it made it into my top 6 looks this year. mixing two techniques together is a great look and need to remember to do this more often. I know gradient and stamping are commonly mixed together but I have yet to do a manicure like that. Maybe I'll have one in my next quarterly favorites post? 

     I hope you enjoyed this look back at the first 3 months of blog posts.  I hope a few of you decide to join in on the Untired A-Z Challenge, full details can be found at the Facebook Event.  If you decided to recreate any of these looks please share them with me on my Facebook page or tag me on twitter. Thanks for stopping by and Happy Polishing. 

Which look is your favorite?

Thursday, March 15, 2018

6:00 AM

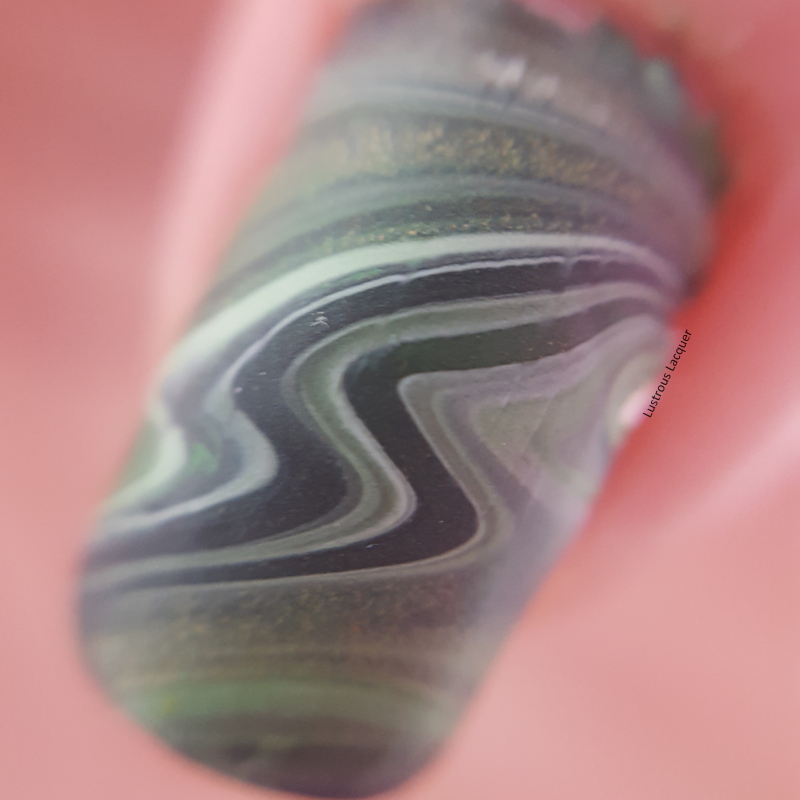
St. Patrick's Day Drip Marble Manicure

*Nothing to Disclose*

     It's that time of year when people start seeing green. No, I'm not talking about money, I'm referring to St. Patrick's Day. The time of year when everyone is a little bit Irish, city's colors their rivers green, our beverages turn green and for me, it's my nails. But this year I was stumped on how to paint them until I remembered the beautiful drip marbles that Kerry from Painted Fingertips creates. So thank you, Kerry, for inspiring my St. Patrick's Day nail art this year.


     I have to say I am in love with how this turned out!  And it looks great both glossy and matte although the matte version ended up being my favorite. Which one do you prefer? 


     I used polishes a variety of polishes to create this look, Sally Hansen's Granny Smith Apple, Sinful Colors White Board and Wet n Wild Poison Ivy and Deadly Dose.  The brush in the Wet n Wild polishes is wider and made dripping the polish very easy but even the smaller brush in the Sinful works for this type of nail art. 


     The first time I did a fluid nail art like this I used my nail art mat.  This time around I took a page out of Kerry's book and used the top to an old sour cream container. The top is a stiffer plastic than the mat which made controlling how the polish moved a bit easier to manage. 


     For those of you wondering how I created this look, it's actually very easy. I just placed random drops of each polish on my lid, making sure that they overlapped and started to run together. Then I simple tipped and turned the lid until the polish had spread out evenly on the lid. I let the design dry for about an hour and a half before continuing on to the next step. Kerry actually created a video on how to do this if you want to see how it's done in real time. 


     Easy right? Well, the one trick is choosing the right polishes. A nice mix of finishes and colors is key to getting a good marbled effect. I'd avoid polishes with larger glitters because they seem to be too heavy and the base is a bit thick but micro glitters seem to work well.


     After my design dried all that was left was to peel it up, but out the parts of the design I wanted and apply them. The best way I've found for applying homemade decals is using a layer of Orly Bonder and letting it dry about 90%. that way it's still a bit tacky but not so wet that your decal dissolves. A little trimming, some cleanup and I you're done.  


    So there you have my St. Patrick's Day nail art for this year. What do you think of the drip marble technique, will you be trying it out? I hope you enjoyed today's post and if you try this technique I'd love to see them. Feel free to share your creations with me on my facebook page.  I'll be back next Tuesday with another post in the Untried A-Z Challenge but until then, Thanks for stopping by and Happy Polishing!


Like what you see? Share it with your friends!