Lightning Nials and a tutorial
Today I have a Lightning Nails tutorial for you inspired by Robin Moses. To be honest, mine look more like stained glass than lightning to me though. I decided to give this look a try after watching this video. I thought it was a great way to use some of my pretty sheer polishes that get no love. This post is quite picture heavy but I hope you enjoy it.
The products I used for this are, base and top coat, Finger Paints Black Expressionism, Sinful Colors Fire Fly, Sally Hansen Black, and Blue and Byte, OPI Totally Tangerine and a Gold Striping polish.
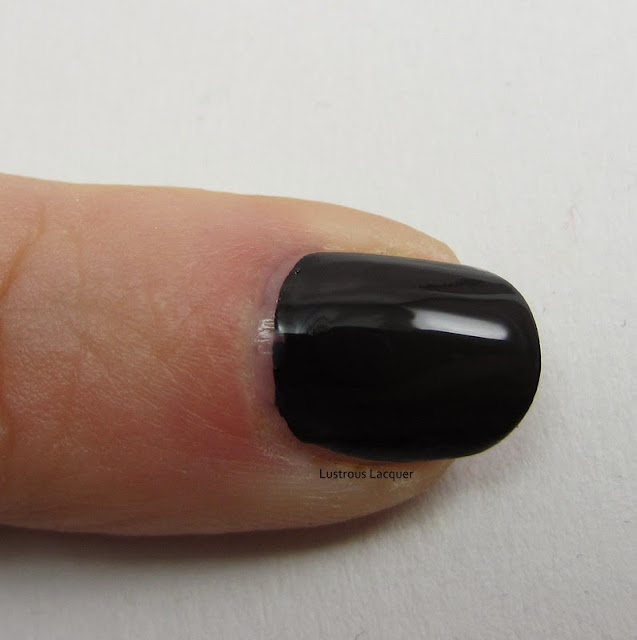
Start off by applying your base coat, once that's dry apply your black polish over the entire nail and allow to dry.
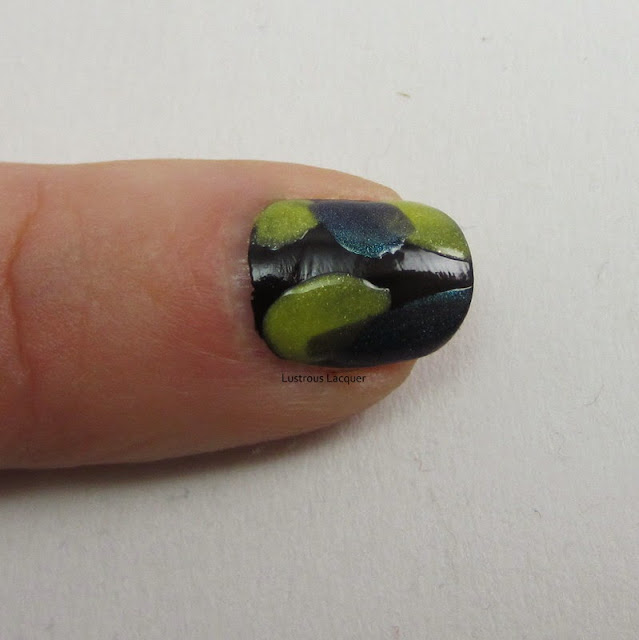
With your yellow polish add 2-3 spots on the nail. I used Sinful Colors Fire Fly. You don't want to be very controlled with this. The more randomness you can get the better.
Next go in and add 2 spots with your blue polish. I used Sally Hansen Black and Blue from the Complete Salon Manicure series. Again you want this to be random, but also touching the edges of your yellow spots. This particular blue was very sheer so I ended up adding 2 layers to my spots.
Continue by adding in a few spots with your orange/copper color. I used OPI totally Tangerine which ended up having a golden tint to it when layered over the black.
Going in with your Pink polish, fill in any remaining black space on your nail. I used Sally Hansen Byte from the HD series of polishes. This is where I wished my nails were a little longer so I could have more room for the pink.
Lastly, you want to take your striping polish and go over the natural lines where the polishes meet. This is where having an unsteady hand can be your best friend. I found that the less "structured" the lines look the better this manicure looks. Also, you want your lines to be thin, mine got a little heavy-handed for my taste.
Wait a few minutes for everything to dry and finish off with your favorite top coat. I used a generous coat of Seche Vite.
The best part about this manicure is how it sparkles in the light, and gives off a different look depending on the angle. Do you agree with me that mine look like a stained glass window rather than lightning?
Here's a quick collage of each step in case you want to see everything together. If you attempt this look Id love for you to share it with me. Please post your pictures on my Face Book page.

So there you have it, an easy way to do some nail art with all those sheer polishes that you don't know what to do with. Id love to hear your thoughts on this look. Or any feedback you have about this tutorial. Id like to do more in the future and want them to be as helpful as possible. Thanks for stopping by and Happy Polishing!


It looks really good and I agree, I like the sparkles to it too.
ReplyDeleteThanks Lisa. I knew I wanted to try out this look the moment I watched the video. And its actually really easy to do. =)
DeleteI love this manicure,
ReplyDeleteI do think it looks so great on your nails ;)
Xx julia
Thank you Julia =)
DeleteOh wow this is really pretty! Love it
ReplyDeleteThanks =) If you try it out Id love to see it!
Delete